Service
SERVICE
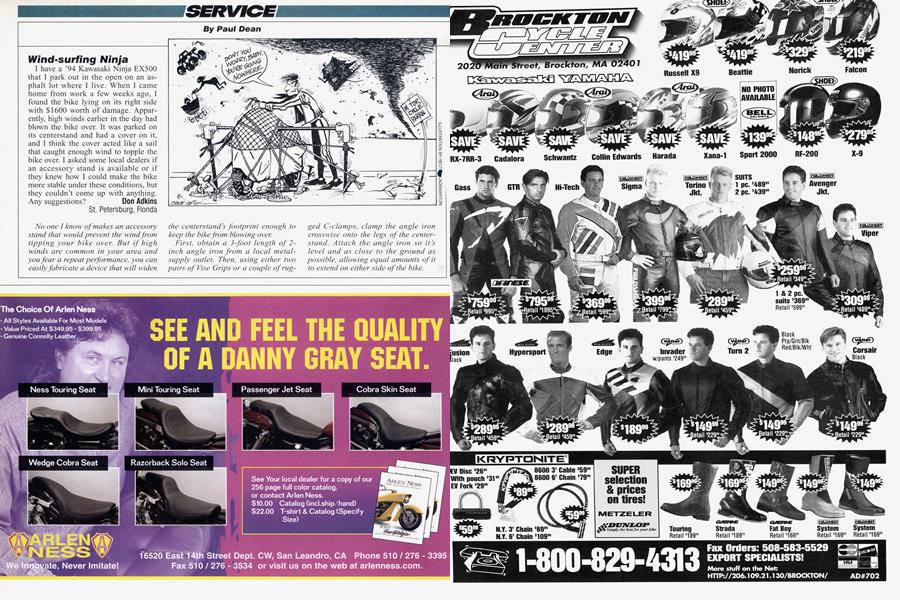
Wind-surfing Ninja
Paul Dean
I have a ’94 Kawasaki Ninja EX500 that I park out in the open on an asphalt lot where I live. When I came home from work a few weeks ago, I found the bike lying on its right side with $1600 worth of damage. Apparently, high winds earlier in the day had blown the bike over. It was parked on its centerstand and had a cover on it, and I think the cover acted like a sail that caught enough wind to topple the bike over. I asked some local dealers if an accessory stand is available or if they knew how I could make the bike more stable under these conditions, but they couldn’t come up with anything. Any suggestions? Don Adkins
St. Petersburg, Florida
No one I know of makes an accessory stand that would prevent the wind from tipping your bike over. But if high winds are common in your area and you fear a repeat performance, you can easily fabricate a device that will widen
the centerstand s footprint enough to keep the bike from blowing over.
First, obtain a 3-foot length of 2inch angle iron from a local metalsupply outlet. Then, using either two pairs of Vise Grips or a couple of rug-
ged C-clamps, clamp the angle iron crosswise onto the legs of the centerstand. Attach the angle iron so it’s level and as close to the ground as possible, allowing equal amounts of it to extend on either side of the bike.
Because of the irregular shape of the centerstand down near its base, you won’t be able to get the angle iro much closer to the ground than two or three inches. To compensate, fabricate a couple of little “feet” that attach to the very ends of the angle iron. You can bolt wooden blocks or weld metal bars on the ends; use your imagination and whatever materials you mighf have handy. The idea is to get the feet to sit flat on the ground when the bar is clamped in place across the legs of the centerstand. Then, when you park your EX in the lot, simply clamp the angle iron in place before covering the bike. The procedure only takes a few( seconds, and the significantly wider stance will prevent the wind from blowing the bike over sideways.
The wind also might push the bike off the centerstand from behind; so, for added insurance, loop a tiedown strap through the front wheel, hook the ends to the crossbar of the centerstand, and pull the strap tight. The strap will prevent the stand from folding up if the wind pushes the bike hard from behind; and because the front wheel rests on the ground when the bike is on the centerstand, the inability of the wheel to rotate will further prevent your EX from rolling off the stand.
Buzzy SeeBeeWon
I want to inquire about something that bothers me concerning my 1990 Honda CB-1. At highway speeds of 55 and over, the engine vibrates so much that it makes me numb wherever I make contact with the bike. Can I do anything to lower the rpm in sixth gear so that this vibration can be avoided? If such a thing is possible, will it affect the bike’s low-end performance?
Frank Maceri Fairview, New Jersey
If your CB-1 is still wearing stock gearing, it has a 15-tooth countershaft sprocket and a 41-tooth rearwheel sprocket. This yields a 2.733:1 final-drive ratio that has the 400cc engine spinning just under 6000 rpm at 55 mph in sixth gear.
You can, of course, change the final gearing to lower the rpm. To get a reduction in rpm sufficient to permit noticeably smoother open-road running, though, you d have to make the gearing about 10 percent taller. That would mean swapping the stock rear sprocket for a 37-tooth replacement from the aftermarket, which would produce a 2.467:1 final ratio. Trouble is, that would also result in a 10-percent reduction in rear-wheel torque, and it would do so in all gears, at all rpm and at all speeds. Acceleration up through the gears would suffer noticeably, and in top gear, your regeared CB-1 would be positively anemic.
Since the CB-1 ’s torque peak is way up at 9500 rpm—and it only makes 29 foot-pounds once it gets there—it can’t afford to lose much mid-rpm urge. You could trade performance for smoothness, but I don’t think you d be happy with the result. The easiest and simplest cure would be a bigger bike.
Thou shalt not overrev
I recently bought a nice 1993 Honda CBR900RR with just 2500 miles on the odometer. It never gave me any problems during start-up, hot or cold, until I missed a fourth-gear shift, which zinged the tachometer needle way up to or beyond redline. When that happened, I continued to ride, paying more heed to my shifting technique, then parked it for the day. The following day, the engine began getting much harder to start. I now have to crank it for a few seconds before it will fire up, then it dies after only a second or so. And restarting involves cranking the starter for three or four seconds before the engine comes to life. It never did this before the missed shift; but now, hot or cold, the bike is more difficult to start. Everything in the electrical system checks out perfectly. Could you please help? Rob Szaro
Highland, Michigan
Missing a shift doesn’t harm anything in the electrical or fuel systems, but it can have serious adverse effects on some mechanical components, especially those in the valve train. Although the CBR900’s ignition system incorporates an electronic rpm-limiter to help prevent overrevving, your shifting miscue nonetheless could have bent or otherwise damaged some of the engine’s 16 valves. If that valve damage is only very slight, the effect on most aspects of engine performance could be almost imperceptible during normal acceleration and while running at speed. But even with a small amount of valve damage, the engine could lose just enough compression in one or more cylinders to cause the kind of hard starting you describe, as well as weak idling.
The most straightforward way to diagnose this problem is to check the compression of all four cylinders. You can do this either through the traditional method, which involves putting a compression gauge in each sparkplug hole, one at a time, and spinning the engine over with the starter motor; or by the leak-down method, which determines how long it takes each cylinder to bleed off a predetermined amount of air pressure. If any valves have been damaged enough to cause significant compression leakage, that cylinder’s compression value will be considerably below those of the other cylinders.
Sometimes, a simple valve-clearance readjustment will let the affected valves reseat sufficiently to restore the performance to normal levels. But very often, the damaged valves have to be resurfaced and reseated or replaced altogether. Unless you ’re an experienced mechanic, I suggest you have your CBR diagnosed and repaired by the local Honda shop or a reputable bike mechanic in your area.
Chinese chain torture
In regard to Claudia Caicedo’s May Service letter regarding the replacement of the head gasket on her 1980 CB650 Honda: As you suggested, she should have no trouble replacing the gasket with the guidance of a Clymer or factory shop manual—except for one detail that is omitted in both of those publications. The cam chain in these engines is of the endless variety, and the gear on the cam is located in the very middle of the engine, between cylinders No. 2 and 3. The books say to unbolt the gear from the flange on the camshaft, then lift off the chain and remove the cam and gear. They neglect to tell you to lift off the chain so it settles between the gear and the flange. You can then slide out the cam while holding the gear and chain. It’s like a Chinese puzzle that can be done only one way. If she tries to lift it off the other side of the gear, she may experience great frustration (just as my friends and I did for several days until we figured it out). Tom Rand
New Berlin, Wisconsin
I thank you for the useful tip, and I’m sure that Claudia will be eternally grateful. By the way, Ms. Caicedo is recently divorced, and it sounds like she could use a mechanic in her life.... >
Wounded Wing
I own a 1985 Honda Limited Ed' tion Gold Wing with 37,000 miles that seems to have a charging-system problem. When the bike is first started, occasionally the built-in LCD voltage meter will drop to about 12 volts and not fluctuate at all with engine speed; the normal reading usual, ly is between 13.2 and 14 volts, and it varies according to the engine rpm. When the bike is shut off and restarted, the problem goes away until the next time it decides to fail. The problem also seems to go away when the bike is ridden for at least 15 minutes.
Using the shop manual as a guide, r measured the output voltage of the three alternator wires during one of the charging system’s failure periods. Two of the wires read 8.5 AC volts, while the third read 2.2 AC volts. But when the bike was shut off and restarted, all three wires read 8.5 volts.
My battery is two months old and fully charged. Do you think the alternator stator has gone bad? And if it has, is its replacement beyond the capabilities of a guy who’s pretty knowledgeable about motorcycle repairs other than charging systems? I hear that the engine has to be removed from the frame to replace the stator. Will that job require any “Honda exclusive” tools that a normal, at-home garage guy won’t have? Joe Lonce
Virginia Beach, Virginia
In February of 1990, Honda issued a Service Bulletin, titled GL1200 #16, that discussed potential problems with alternator stators on 1984-1987 GL1200 Gold Wings. (This was a revised bulletin that superseded a previous one of the same name, GL1200 #16, dated December, 1989.) The stators on these models suffered a comparatively high rate of failure, and this bulletin not only described the proper procedure for their inspection and troubleshooting, but also outlined the terms of an extended warranty that allowed free replacement of faulty stators for four years from the date of the bike’s initial purchase by its original owner.
Whether or not you ’re the original owner, that extended warranty expired seven years ago for your 1985 Wing; free replacement, then, is out of the question. And, yes, replacing the stator does require removal of the engine. No special tools are needed, but a floor jack and a burly helper are a prerequisite for getting the big motor out of the frame and moving it around the shop.
Before you start yanking the engine out of your Wing, however, I strongly suggest you visit a Honda dealer and have him run the diagnostic tests described in the aforementioned service bulletin. For one thing, it specifies an AC output of 50 volts for each of the three alternator wires, whereas your tests yielded just 8.5 volts. I suspect an inconsistency between your testing method and that discussed in the service bulletin. What’s more, the bulletin reveals that some problems with the stators can actually be traced to the connector on the end of the three alternator wires.
Flood warning
Two months ago, I bought a ’93 Kawasaki KLX650 dual-purpose bike that only had 850 miles on it. It was in like-new condition and had never been ridden off-road. The problem is, after it sits unused for a day or longer,
I have to drain the carburetor before the engine will start. My mechanic checked the vent in the gas cap (it was okay) and called a couple of Kawasaki shops, but they had never heard of such a problem. I love to ride this machine; it’s my first dualpurpose bike but not my last. I just want to fix this one problem.
Bob Shoptaugh Indianapolis, Indiana
It’s my guess that the float needle in your KLX650’s carburetor has a very slow leak and is not completely shutting off the flow of gas into the float bowl. Thus, when the bike sits unused for a day or so, the float bowl gradually overflows, spilling raw gas into the intake port where it is immediately drawn into the engine as you attempt to start it. In other words, the engine gets flooded. But when you drain the float bowl and then try starting the engine, the intake draws in only air and no gasoline; and that air atomizes enough of the raw gas in the combustion chamber to let it burn properly and start the engine.
Solution? First, carefully inspect the float to ensure that it doesn’t have a hole in it. Next, replace the float’s needle and seat. And finally, set the float level according to the instructions in the shop manual. □