Sound Advice
Sound Advice
A little foam and a little work can make helmet hoise disappear.
David Edwards
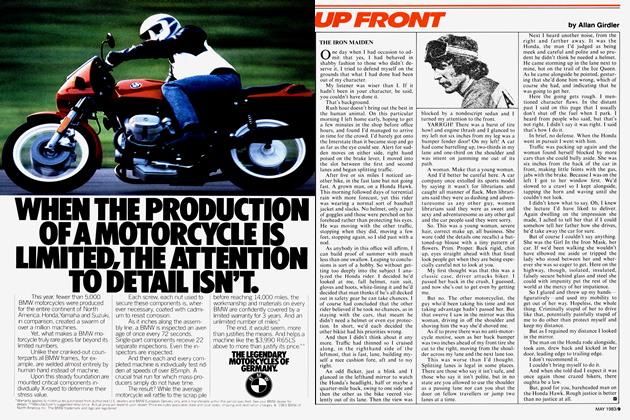
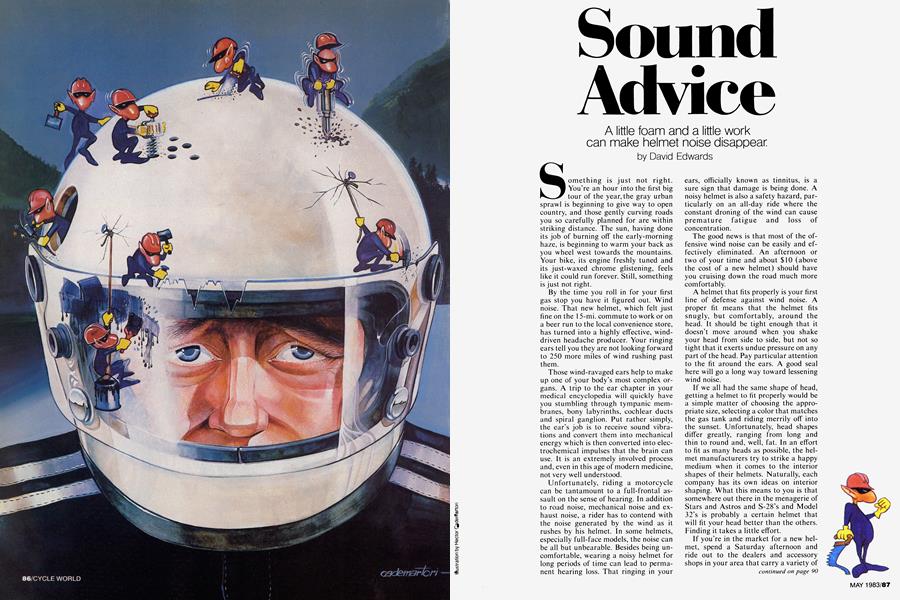
Something is just not right. You’re an hour into the first big tour of the year, the gray urban sprawl is beginning to give way to open country, and those gently curving roads you so carefully planned for are within striking distance. The sun, having done its job of burning off the early-morning haze, is beginning to warm your back as you wheel west towards the mountains. Your bike, its engine freshly tuned and its just-waxed chrome glistening, feels like it could run forever. Still, something is just not right.
By the time you roll in for your first gas stop you have it figured out. Wind noise. That new helmet, which felt just fine on the 15-mi. commute to work or on a beer run to the local convenience store, has turned into a highly effective, winddriven headache producer. Your ringing ears tell you they are not looking forward to 250 more miles of wind rushing past them.
Those wind-ravaged ears help to make up one of your body’s most complex organs. A trip to the ear chapter in your medical encyclopedia will quickly have you stumbling through tympanic membranes, bony labyrinths, cochlear ducts and spiral ganglion. Put rather simply, the ear’s job is to receive sound vibrations and convert them into mechanical energy which is then converted into electrochemical impulses that the brain can use. It is an extremely involved process and, even in this age of modern medicine, not very well understood.
Unfortunately, riding a motorcycle can be tantamount to a full-frontal assault on the sense of hearing. In addition to road noise, mechanical noise and exhaust noise, a rider has to contend with the noise generated by the wind as it rushes by his helmet. In some helmets, especially full-face models, the noise can be all but unbearable. Besides being uncomfortable, wearing a noisy helmet for long periods of time can lead to permanent hearing loss. That ringing in your
ears, officially known as tinnitus, is a sure sign that damage is being done. A noisy helmet is also a safety hazard, particularly on an all-day ride where the constant droning of the wind can cause premature fatigue and loss of concentration.
The good news is that most of the offensive wind noise can be easily and effectively eliminated. An afternoon or two of your time and about $10 (above the cost of a new helmet) should have you cruising down the road much more comfortably.
A helmet that fits properly is your first line of defense against wind noise. A proper fit means that the helmet fits snugly, but comfortably, around the head. It should be tight enough that it doesn’t move around when you shake your head from side to side, but not so tight that it exerts undue pressure on any part of the head. Pay particular attention to the fit around the ears. A good seal here will go a long way toward lessening wind noise.
If we all had the same shape of head, getting a helmet to fit properly would be a simple matter of choosing the appropriate size, selecting a color that matches the gas tank and riding merrily off into the sunset. Unfortunately, head shapes differ greatly, ranging from long and thin to round and, well, fat. In an effort to fit as many heads as possible, the helmet manufacturers try to strike a happy medium when it comes to the interior shapes of their helmets. Naturally, each company has its own ideas on interior shaping. What this means to you is that somewhere out there in the menagerie of Stars and Astros and S-28’s and Model 32’s is probably a certain helmet that will fit your head better than the others. Finding it takes a little effort.
If you’re in the market for a new helmet, spend a Saturday afternoon and ride out to the dealers and accessory shops in your area that carry a variety of helmets. Explain to the salesperson what you're looking for and then start popping different helmets on your noggin. Once you find a few that seem to fit well, ask if you can take each of the helmets for a “test ride.” You may have to leave a deposit or your driver’s license, but most shops shouldn’t mind you spending a few minutes on the road evaluating the helmets.
continued on page 90
continued from page 87
When you’re testing, don't go for just a spin around the block. You need to see how each helmet feels at touring speeds. Besides testing for the amount of wind noise, check for drafts around the face shield, note how much peripheral vision each helmet offers, see how the interior material feels and check for ease of face shield operation. Take your time here. A helmet is one of the most expensive accessories you will buy, one that you will quite literally have to live with for years to come. After visiting three or four shops, you should have a pretty good idea of the make, size and style of helmet that fits you best.
If, despite your best efforts, that perfect seal around the ears still eludes you or if you’ve recently purchased a new helmet that you now know could fit better around the ears, don’t just sigh and resign yourself to thousands of miles of wind-induced torture. Help is as close as your neighborhood fabric outlet or upholstery shop. Either place should stock foam of varying densities and thicknesses, with which you can make your very own custom-fit ear pads.
Things get a little tricky here, as you'll have to do some testing before you come up with a solution that is satisfactory. Start out with foam about a half inch thick and make sure you buy enough to allow for a few mistakes. Cut a piece of foam so that it covers the ear area with a little to spare on each side. You’ll probably have to cut a slit for the chin strap to fit through. Make a twin for the other side of the helmet, temporarily attach the pads (double-sided tape works well) and go out for a test ride. See how it feels. You may have to add more foam around the ear or extend the foam in front of the ear along the cheek. Perhaps thicker foam will do the trick. The foam is cheap so don't be afraid to experiment.
Once you've got the shape of the foam down, it's time to cover the pads and attach them more permanently to the inside of your helmet. The same shop that sold you the foam will probably have a small swatch of material that will closely match the lining of your helmet. Terry cloth is a good choice as it absorbs sweat and usually doesn't irritate. Cut the cloth to shape and attach to the ear pads with some spray-on glue. How you keep your new ear pads inside your helmet depends largely on its interior construction. Some helmets have recessed ear pockets that will keep the foam firmly in place without any help. With other helmets you may have to attach the pads with a small dab of rubber cement or more of the double-sided tape you used in your testing. Small patches of Velcro are a neater, if slightly more involved, solution.
Earplugs are the next step you should take to make your ride a quieter one. You can go cheap here and simply stuff cotton in your ears or you can go the expensive route and have $40 custom-fit, wax-molded plugs made up. Both extremes will cut noise, but a better alternative is available.
Compressible foam earplugs are almost as effective as the custom-fit variety, are relatively inexpensive at about a dollar a pair and unlike some earplugs, are pretty comfortable inside the tight confines of a helmet. If you are not familiar with this type of earplug, they are small cylinders of foam that you roll into tighter cylinders and then stick into your ears, where they expand and conform to the inside shape of each ear. They cut out a great deal of noise, but still allow you to hear some road noise, sirens, mufflers falling off, etc., so you don’t feel as if you’re riding around in some kind of giant vacuum. If you can't find these plugs at local drug stores or sporting goods stores, try the pilot’s supply shop at a nearby general aviation airport. Buy three or four pairs earplugs are very easy to lose and store each pair in a plastic 35mm film canister when not in use so they don't pick up all kinds of muck and lint as they roll around in your pockets.
You can also buy inexpensive plastic earplugs which work quite well and are a little more durable than the foam type. For some people, though, the plastic plugs tend to be uncomfortable, especially under a helmet.
Another way to help cut down wind noise is to make sure there are no gaps between your face shield and helmet that will allow the wind to shriek past. If you do detect gaps, foam weatherstripping, available in hardware stores, makes for a good seal. The weatherstripping is adhesive-backed on one side and is flexible enough so that it can be molded around
the face shield opening without splitting. You can use weatherstripping on open face helmets as well, where it has the added benefit of stopping snap-on face shields from rattling around when buffeted by the wind. You might want to test this before that long trip, as sometimes a seal can be too perfect, leading to fogging of the shield or an overheated head.
Well, now you’re getting somewhere. With a properly fitting helmet, your custom-made ear pads, comfortable earplugs and weatherstripping around the face opening, you should notice a dramatic decrease in your helmet’s noise level. If you’re a real stickler, though, there are a few more things you can try:
• Ride behind a fairing. Obviously, riding in the still-air pocket a fairing produces will lower the amount of wind rushing past your helmet. However, some fairings do a great job of protecting your torso only to deposit a strong wind blast right at helmet level. Also remember that the inside of a fairing will reflect a good deal of road and engine noise right back at you. So a fairing is not necessarily the cure-all it might at first seem.
• If you do a lot of riding in cold weather, think about investing in one of the thermal-to-neck protectors that are available. Not only will they make your ride warmer, but the added material will insulate you from noise as well.
• In warmer weather a bandanna, tied cowboy style behind your neck, looped over your chin and secured by the helmet's chin strap, can help smooth the flow of air under the helmet and lessen wind noise.
• Sometimes the angle that your helmet hits the airstream can affect the intensity of the wind noise. Experiment by pivoting your head up and down while riding. If one angle makes an appreciable difference in the noise level, you may want to buy new handlebars with a slightly lower or higher rise that comfortably position your head at the least noisy position.
• If your helmet’s chin strap is too long and flaps about in the wind, buy some Velcro and secure it back on itself so it doesn’t flutter annoyingly. Every little bit of noise reduction helps.
There is another, optional measure you can take to make the time spent under your protective dome a little more enjoyable. Wire it for sound. Although the purists in the audience will be aghast, those personal cassette stereos, which seem to be everywhere these days, make ideal companions for the motorcyclist on tour. Turning your Walkman into a Rideman is not hard and the results are really pleasing, especially if you’re looking at an extended drone down the interstate.
Mounting the stereo speakers in your
helmet is the most complicated part. Don’t just pop the headphones, complete with metal headband, under your helmet. You’ll have enough to worry about if you toss the bike down the road without having the headband move around under impact and slice off part of your ear. This is where your new-found ear pad building expertise pays off. Using the pads as templates, make another set, only this time cut a circular hole in each pad directly opposite your ear, big enough for the speakers to fit through. When mounted the speakers should be flush with the ear pad. You’ll want to position the speakers as close to your ears as possible for good sound transmission, so you may have to use slightly thicker foam with the speakers. Run the headphone wires from your helmet, down your neck, inside your riding jacket and then into the cassette player. You can wear the player on your belt or in a pocket, but again, having something that hard next to your body in a fall is not a good idea. A better mounting place would be in a tank bag or, if the wires are long enough, in a saddlebag. With that done, you’re all set to toddle down the highway, tapping your foot as Willie Nelson rasps out “On the Road Again.”
Some cautions are in order here. Do not bypass the other windproofing measures and go straight to installing the stereo. Having to turn up the volume full blast to hear the dulcet tones of your favorite punk rock band will do just as much damage to your hearing as the worst wind blast. Probably more.
Pick carefully the places where you use your stereo system. Out on the Interstate, where the most difficult thing you may do all day is deploy the kickstand at gas stops, the music is a real luxury and can make the day go a lot easier. In other situations, the masking of outside noises is not only undesirable, it can be downright dangerous. Even with the sound turned down low, you may not hear rush hour tire screeches, the siren of a fastapproaching fire engine or the playful shouts of a youngster bounding into the street to retrieve a renegade softball. Use your common sense before plugging in the headphones.
Another consideration is that in some states the use of headphones while driving is against the law. Other states allov the use of one earphone only. If you get stopped in one of these states, it will be hard to convince the police officer that those wires going into your helmet are, in fact, attached to electric ear warmers. Especially if you get stopped in August.
That about wraps it. If you opt for the basic windproofing steps, all it will take is a little time to turn your helmet into a better place to spend your riding hours. And years from now your unimpaired tympanic membranes and spiral ganglion will thank you for it. SI