Service
SERVICE
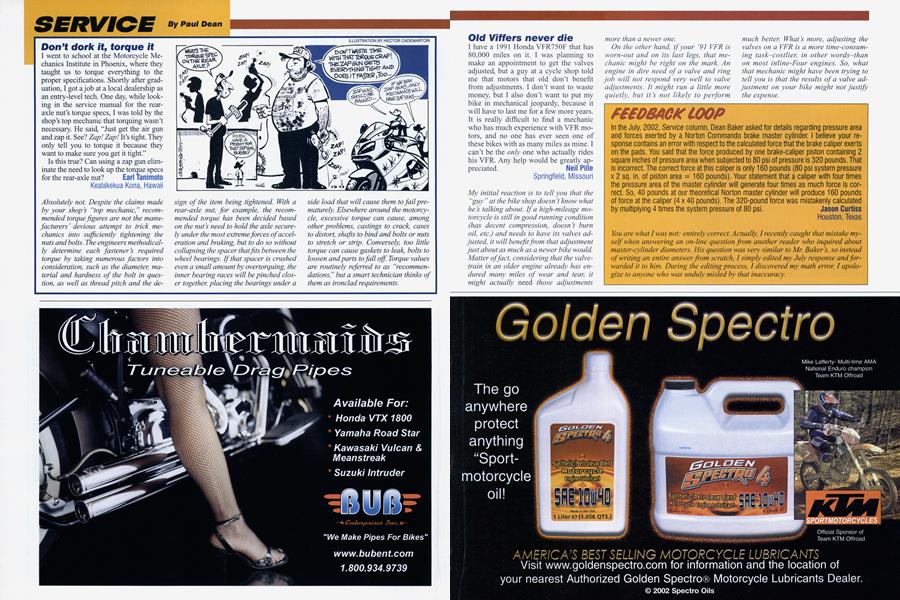
Don’t dork it, torque it
I went to school at the Motorcycle Mechanics Institute in Phoenix, where they taught us to torque everything to the proper specifications. Shortly after graduation, I got a job at a local dealership as an entry-level tech. One day, while looking in the service manual for the rear-axle nut’s torque specs, I was told by the shop’s top mechanic that torquing wasn’t necessary. He said, “Just get the air gun and zap it. See? Zap! Zap! It’s tight. They only tell you to torque it because they want to make sure you get it tight.”
Is this true? Can using a zap gun eliminate the need to look up the torque specs for the rear-axle nut? Earl Tanimoto Kealakekua Kona, Hawaii
Absolutely not. Despite the claims made by your shop s “top mechanic,” recommended torque figures are not the manufacturers’ devious attempt to trick mechanics into sufficiently tightening the nuts and bolts. The engineers methodically determine each fastener’s required torque by taking numerous factors into consideration, such as the diameter, material and hardness of the bolt in question, as well as thread pitch and the design of the item being tightened. With a rear-axle nut, for example, the recommended torque has been decided based on the nut ’s need to hold the axle securely under the most extreme forces of acceleration and braking, but to do so without collapsing the spacer thatfits between the wheel bearings. If that spacer is crushed even a small amount by overtorquing, the inner bearing races will be pinched closer together, placing the bearings under a side load that will cause them to fail prematurely. Elsewhere around the motorcycle, excessive torque can cause, among other problems, castings to crack, cases to distort, shafts to bind and bolts or nuts to stretch or strip. Conversely, too little torque can cause gaskets to leak, bolts to loosen and parts to fall off. Torque values are routinely referred to as “recommendations,” but a smart technician thinks of them as ironclad requirements.
Paul Dean
Old Viffers never die
I have a 1991 Honda VFR750F that has 80,000 miles on it. I was planning to make an appointment to get the valves adjusted, but a guy at a cycle shop told me that motors that old don’t benefit from adjustments. I don’t want to waste money, but I also don’t want to put my bike in mechanical jeopardy, because it will have to last me for a few more years. It is really difficult to find a mechanic who has much experience with VFR motors, and no one has ever seen one of these bikes with as many miles as mine. I can’t be the only one who actually rides his VFR. Any help would be greatly appreciated. Neil Pille Springfield, Missouri
My initial reaction is to tell you that the “guy ” at the bike shop doesn’t know what he’s talking about. If a high-mileage motorcycle is still in good running condition (has decent compression, doesn’t burn oil, etc.) and needs to have its valves adjusted, it will benefit from that adjustment just about as much as a newer bike would. Matter of fact, considering that the valvetrain in an older engine already has endured many miles of wear and tear, it might actually need those adjustments more than a newer one.
On the other hand, if your ’91 VFR is worn-out and on its last legs, that mechanic might be right on the mark. An engine in dire need of a valve and ring job will not respond very well to valve adjustments. It might run a little more quietly, but it’s not likely to perform
much better. What’s more, adjusting the valves on a VFR is a more time-consuming task-costlier, in other words-than on most inline-Four engines. So, what that mechanic might have been trying to tell you is that the results of a valve adjustment on your bike might not justify the expense.
FEEDBACK LOOP
In the July, 2002, Service column, Dean Baker asked for details regarding pressure area and forces exerted by a Norton Commando brake master cylinder. I believe your response contains an error with respect to the calculated force that the brake caliper exerts on the pads. You said that the force produced by one brake-caliper piston containing square inches of pressure area when subjected to 80 psi of pressure is 320 pounds. That is incorrect. The correct force at this caliper is only 160 pounds (80 psi system pressure x 2 sq. in. of piston area = 160 pounds). Your statement that a caliper with four times the pressure area of the master cylinder will generate four times as much force is correct. So, 40 pounds at our theoretical Norton master cylinder will produce 160 pounds of force at the caliper (4 x 40 pounds). The 320-pound force was mistakenly calculated by multiplying 4 times the system pressure of 80 psi. Jason Curtiss Houston, Texas
You are what I was not: entirely correct. Actually, I recently caught that mistake myself when answering an on-line question from another reader who inquired about master-cylinder diameters. His question was very similar to Mr. Baker’s, so instead of writing an entire answer from scratch, I simply edited my July response and forwarded it to him. During the editing process, I discovered my math error. I apologize to anyone who was unduly misled by that inaccuracy.
Since I know nothing about the condition of your VFR, I can’t tell you whether or not you should have its valves adjusted. But I can tell you that although the VFR ’s V-Four engine layout somewhat complicates the valve-adjustment procedure, there is nothing unique about its valvetrain compared to that of an inlineFour. Anyone who can properly adjust the valves on one should be able to do an equally competent job on the other.
Can’t find the snake
I just finished reading my August, 2002, issue, and I have a question. In the Service column, you refer to a product called the Bar Snake made by CP Products. I have a handlebar-vibration problem with my 1982 Yamaha Seca 650 and would like to give the Bar Snake a try, but I haven’t been able to get through to CP Products with the phone number you listed. And when, on a hunch, I tried logging onto www.cp-products.com, I got an interesting history of Carter Powell but nothing about the Bar Snake. Do you have any more recent or additional information for this company or product? Mike Spampinato
Posted on www.cycleworld.com
When I replied to that letter, I had both versions of the Bar Snake (a rubber tube that you insert into the handlebar and a fast-hardening liquid you pour into it) sitting on my desk, still in their original packaging, and the phone number I included was taken right off the boxes. At that time, I was not aware that the company had moved and thus had a different address and phone number. You now can contact CP Products at 446 E. Laurel Drive, Salinas, CA 93906; 877/437-3704; www.barsnake.com
It’s the ghost of Lucas
I own a 1999 Triumph T595i that has roughly 1 OK on the odometer, and for the past year, I’ve been having a problem with the battery. If I don’t ride the bike for more than two weeks, it won’t start. If I replace the battery, everything is fine until the bike isn’t ridden again for a couple of weeks. I’ve had to replace the battery four times, and I’m so frustrated that I’m thinking of selling the bike. I had it checked out by a Triumph dealer, but they couldn’t find anything wrong with it. Can you help? SlicKer625 Posted on www.cycleworld.com
The problem is not with the battery itself, which is clearly indicated by the fact that the same condition has occurred with four different batteries. Instead, something in the electrical system is putting a constant drain on the battery, even when the ignition is off. Apparently, that drain is small enough that the battery still has enough juice to start the engine if the bike hasn’t been ridden for a few days, but it’s large enough that the battery will notfire the engine if the bike is parkedfor a couple of weeks.
It shouldn’t be too hard to locate the source of this drain. With the ignition switched off, disconnect the negative cable of the battery and connect a simple volt/ohm/ammeter between the cable and the battery. Attach the positive lead of the meter to the negative terminal of the battery, and the negative lead of the meter to the ground cable. Set the ammeter to one of its “milliamp ” positions (use the 250 mA setting, which most meters have), and the meter’s needle (or readout, if it s a digital meter) should indicate a negative current flow. If the needle on an analog ammeter tries to swing the wrong way, either select the meter’s “negative ” option (if it has one) or simply reverse the meter s connections at the battery. Now, unplug each electrical component, one by one, while observing the ammeter; when you disconnect the problematic component, the meter reading should drop to zero. You might end up unplugging practically every electrical component and junction in the wiring harness before you find the culprit, but if you persevere, find it you will.
Clamping down
I have a ’92 Kawasaki Concours that is in fantastic condition considering it has racked up more than 54,000 miles. Just recently, it got knocked over in a parking garage, and the only real damage it sustained was that the clamp holding the master cylinder on the handlebar got broken. I found a used replacement clamp at a local bike shop, but as I was installing it, it snapped in two. I figured it had been weakened during its previous life on another bike. Luckily, the shop had several of these clamps, so I bought another one, but damned if it didn’t snap during installation, too. I now have a third clamp, but I’m scared to death to install it, because I just know it’s going to break. Is there a problem with these clamps or am I doing something wrong? AI Schneider
Hattiesburg, Mississippi
That’s a big 10-4 on the latter, Al. Those clamps are not quite what they might seem to be, and you keep breaking them because you ’re not following the requisite procedure for tightening them. The two legs of those clamps are not the same length; the upper one is a couple of millimeters longer than the lower one. That explains the small arrow and the word “up ” cast into the clamp s surface, which indicate the proper installed orientation. When installing the clamp, leave the bottom bolt finger-tight and tighten the top bolt until the upper leg of the clamp bottoms out on its mating surface of the master cylinder. Continue tightening the top bolt until it reaches 78 inch-pounds (6.5 foot-pounds) of torque. Then-and only then-should you tighten the bottom bolt, also to 78 in.-lb. But even when the lower bolt is fully torqued, the lower leg will not make contact with its mating surface on the master cylinder.
This type of clamp is also used to secure the tube-type handlebars on many different motorcycles. Any time you see a clamp with an “up ” cast into its surface, you know that it should be tightened in this manner. The torque values will differ, of course, depending upon the application and the size of the bolts, but the tightening procedure is always the same. If the clamp is not marked with an “up,” however, this means it is a conventional style on which both legs are the same length. Clamps of this design should be installed with an equal gap between each leg and its corresponding mating surfaces.
Got a mechanical or technical problem with your beloved ride? Can’t seem to find reasonable solutions in your area? Maybe we can help. If you think we can, either: 1) Mail your inquiry, along with your full name, address and phone number, to Cycle World Service, 1499 Monrovia Ave., Newport Beach, CA 92663; 2) fax it to Paul Dean at 949/631-0651; 3) e-mail it to CW1Dean@aol.com; or 4) log onto www.cycleworld.com and click on the Feedback button. Please, always include your name, city and state of residence. Don’t write a 10page essay, but do include enough information about the problem to permit a rational diagnosis. And please understand that due to the enormous volume of inquiries we receive, we can’t guarantee a reply to every question.