How To Build A Motorcycle Carryall
HOW TO BUILD A MOTORCYCLE CARRYALL
CLAUDE E. SORENSEN
RIDERS OF motorcycles have one thing in common with the four-wheeled set -an occasional urge to go camping or cross-country touring. But although they have the advantage, especially with trail bikes, of getting into areas not accessible to the four-wheelers, they are at a disadvantage when it comes to carrying gear.
This neatly-proportioned carryall may be the answer to their problem. It is light weight. strong, weather and dust proof.
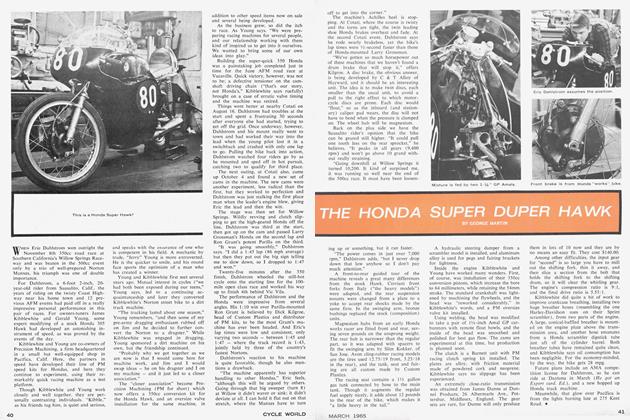
Building the carryall will be duck soup for the average cut-and-put-it-together guy, but you will need a little ingenuity when it comes to mounting it on your particular machine. Shown here is a simple method for use on the H-D 74, but, of course, racks and hangers vary.
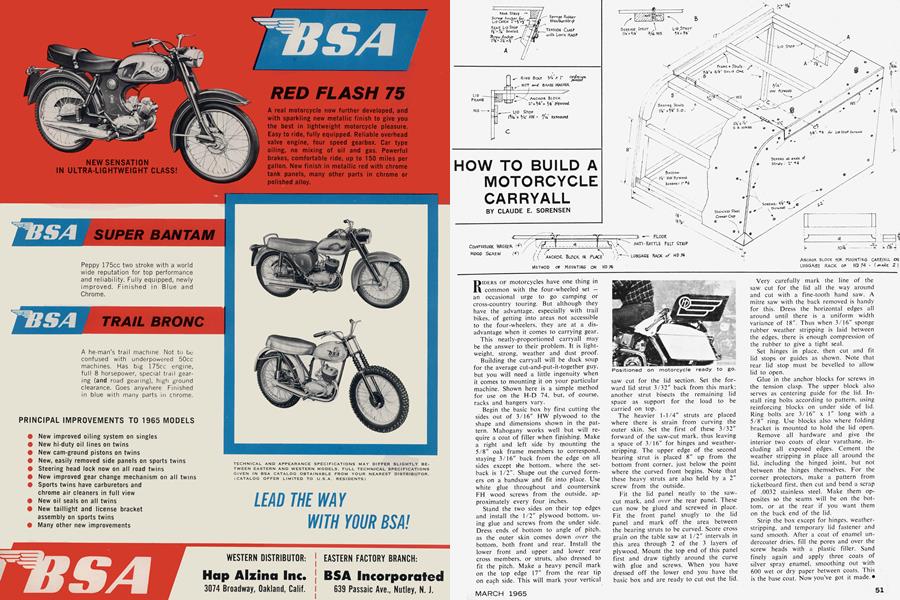
Begin the basic box by first cutting the sides out of 3/16" HW plywood to the shape and dimensions shown in the pat tern. Mahogany works well but will re quire a coat of filler when fipishing. Make a right and left side by mounting the 5/8" oak frame members to correspond. staying 3/16" back from the edge on all sides except the bottom, where the set back is 1/2". Shape out the curved form ers on a bandsaw and fit into place. Use white glue throughout and countersink FH wood screws from the outside, ap proximately every four inches.
Stand the two sides on their top edges and install the 1/2" plywood bottom, us ing glue and screws from the under side. Dress ends of bottom to angle of pitch, as the outer skin comes down over the bottom, both front and rear. Install the lower front and upper and lower rear cross members, or struts, also dressed to fit the pitch. Make a heavy pencil mark on the up edge 17" from the rear tip on each side. This will mark your vertical saw cut for the lid section. Set the for ward lid strut 3/32" back from this mark; another strut bisects the remaining lid space as support for the load to be carried on top.
The heavier 1-1/4" struts are placed where there is strain from curving the outer skin. Set the first of these 3/32" forward of the saw-cut mark, thus leaving a space of 3/16" for hinges and weather stripping. The upper edge of the second bearing strut is placed 8" up from the bottom front corner, just below the point where the curved front begins. Note that these heavy struts are also held by a 2" screw from the outside.
Fit the lid panel neatly to •the saw cut mark, and over the rear panel. These can now be glued and screwed in place. Fit the front panel snugly to the lid panel and mark off the area between the bearing struts to be curved. Score cross grain on the table saw at 1/2" intervals in this area through 2 of the 3 layers of plywood. Mount the top end of this panel first and draw tightly around the curve with glue and screws. When you have dressed off the lower end you have the basic box and are ready to cut out the lid.
Very carefully mark the line of the saw cut for the lid all the way around and cut with a fine-tooth hand saw. A mitre saw with the back removed is handy for this. Dress the horizontal edges all around until there is a uniform width variance of 18". Thus when 3/16" sponge rubber weather stripping is laid between the edges, there is enough compression of the rubber to give a tight seal.
Set hinges in place, then cut and fit lid stops or guides as shown. Note that rear lid stop must be bevelled to allow lid to open.
Glue in the anchor blocks for screws in the tension clasp. The upper block also serves as centering guide for the lid. In stall ring bolts according to pattern, using reinforcing blocks on under side of lid. Ring bolts are 3/16" x I" long with a 5/8" ring. Use blocks also where folding bracket is mounted to hold the lid open.
Remove all hardware and give tfle interior two coats of clear varathane, in cluding all exposed edges. Cement the weather stripping in place all around the lid, including the hinged joint, but not between the hinges themselves. For the corner protectors, make a pattern from ticketboard first, then cut and bend a scrap of .0032 stainless steel. Make them op posites so the seams will be on the bot tom, or at the rear if you want them on the back end of the lid.
Strip the box except for hinges, weather stripping, and temporary lid fastener and sand smooth. After a coat of enamel un dercoater dries, fill the pores and over the screw heads with a plastic filler. Sand finely again and apply three coats of silver spray enamel, smoothing out with 600 wet or dry paper between coats. This is the base coat. Now you've got it made. .